

You did everything the books said. Cardboard down, compost on top, spade left in the shed. Three months later the seedlings are purple, the mulch has set into a crust and something has been rooting about where you sowed your carrots. No-dig gardening is not a trick you perform once. It is a set of conditions you keep in place, and most first-year beds fail because one of those conditions was wrong from the start.
The good news is that the problems are usually the same handful, and all of them are fixable — sometimes within a single season.
Compaction does not vanish under a layer of compost
This is the big one. Cardboard and a few centimetres of compost will suppress weeds and feed the soil surface, but they will not open up a compacted subsoil, a plough pan or the mess a mini-digger left behind. If roots hit a hard layer at spade depth, they stop, and the plant above sulks no matter how much mulch you pile on.
Where that layer exists, deal with it once. Push a fork into the bed. If it will not go past 10–15cm without a fight, loosen the ground before you build the bed: sink the tines, wiggle gently, work backwards so you never stand on the ground you have just opened, and do not turn the soil over. Some growers use a broadfork for this. Deep-rooted plants — mooli radish, comfrey, chicory — will start the job for you if you give them a season.
After that, protect what you have made. Beds no wider than about 1.2m mean you can reach the middle from either side. Kneel on a plank rather than on the soil itself. Keep paths defined and stick to them, even when you are in a hurry. And never work a bed when it is wet enough to clump in your hand; you can undo years of worm work in an afternoon.
Mulch: right material, wrong depth
Mulch is where most beginners go wrong, usually by being too mean with it or too generous in the wrong place.
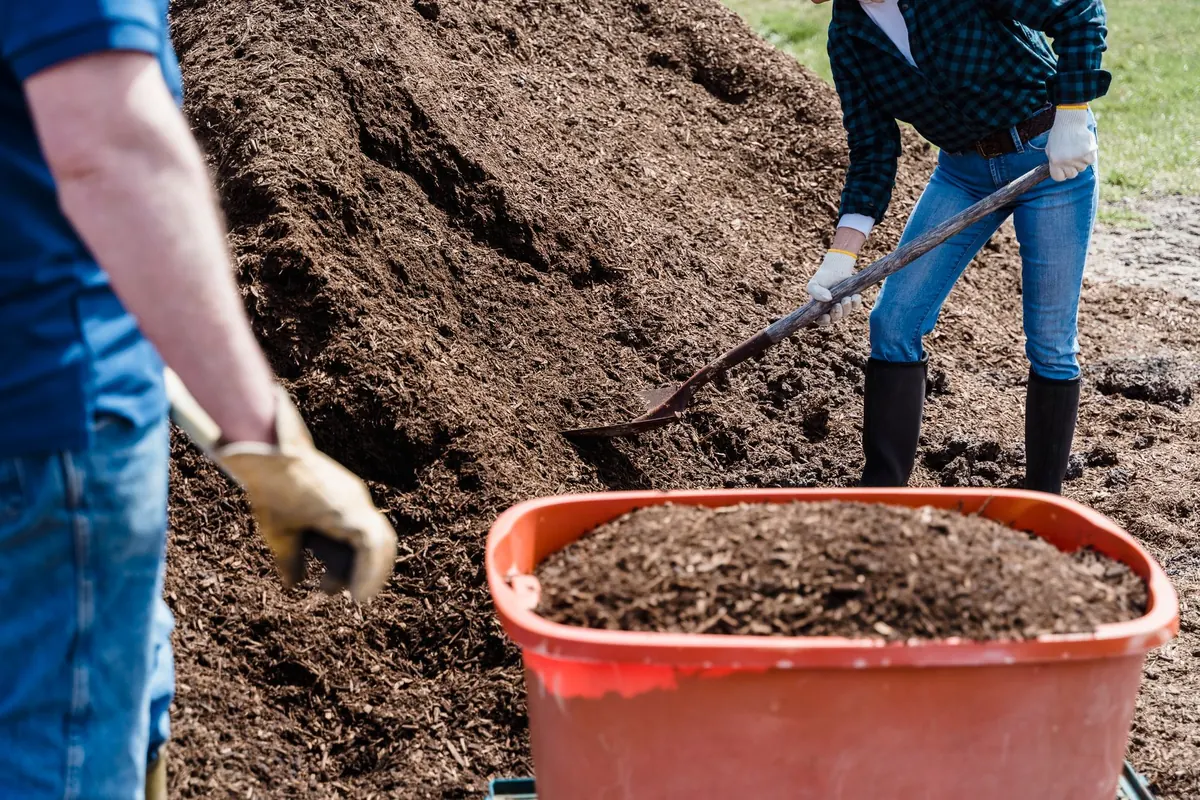
- Too thin. A scattering of compost just feeds the weeds. For a working vegetable bed, aim for 5–7cm of well-rotted compost or leafmould.
- Too thick for sowing. Small seeds need a fine tilth, not a lumpy surface. Riddle a couple of centimetres of compost over the top where you plan to sow, or pull the mulch back into the paths and sow into the soil beneath.
- Woodchip on the beds. Woodchip belongs on paths. On beds it breaks down slowly and can lock up nitrogen at the surface, exactly where young roots are working. Keep it for perennial plantings and top it up little and often.
- Mulch against stems. Leave a hand's width of clear ground around stems and crowns. Damp mulch against a stem is an invitation to slugs and rot.
- Mulching dry soil. Water first, then mulch. Dry compost can shed water rather than absorb it, so you end up with damp mulch sitting on dust.
None of this is complicated, but it does need doing in the right order: weed, water, plant, then mulch.
Cardboard that creates more problems than it solves
Cardboard is a weed suppressant, not a foundation. It works when it is laid directly on the ground with good contact, overlapped by about 15cm at the joins, thoroughly soaked, and covered with enough material to hold it down. It fails when it is layered a dozen sheets thick, left dry, or asked to hold back perennial weeds that simply push through it.
Strip tape and staples out as you go, and avoid glossy, heavily printed card. If you are smothering rough grass or an overgrown plot, expect to leave the cardboard in place for a full growing season before you plant into it properly.
Timing trips up more beds than technique
Two timing errors show up again and again.
Building in spring and planting straight away
A thick mulch laid over cold, wet ground keeps it cold and wet. Seed sown into it sits there and rots. Either build beds in autumn, when worms and winter weather will work the compost down into the soil, or wait until the ground has warmed in spring before you top up — and pull the mulch back from your sowing lines.
Planting into fresh material
Uncomposted manure, thick mats of grass clippings or last week's kitchen waste will heat up, sour or simply starve the plants sitting in it. Let it rot down first. If you are impatient, use it as a bottom layer and finish with a proper 5cm of compost on top.
Perennial weeds will not read the rulebook
No-dig smothers annual weeds beautifully. Bindweed, ground elder, couch grass and brambles are a different matter; they will travel along under your mulch and pop up a metre away. The options are to smother for a full season with light-excluding material, repeat the treatment, and dig out the worst crowns and rhizomes before you start. Yes, that is digging, and it is allowed. A pragmatic approach beats a purist one every time.
Expecting year-one harvests to match year-ten
A new no-dig bed is still a young soil. The fungal networks, worm population and structure that make the method shine take a few seasons to build. Grow the forgiving things first — courgettes, chard, beans, potatoes, salads — and keep the fussy crops for when the bed has settled.
Watch the plants rather than the calendar. Pale, slow growth in a bed topped with straw or woodchip often means nitrogen is being borrowed at the surface; a dose of compost or a dilute liquid feed sorts it out. And mulch is not a substitute for watering. Check under the surface with your hand, and water new plantings directly into the planting hole for the first few weeks.
Getting a stalled bed back on track
- Push a fork into the bed. If it stops short, compaction is your problem — loosen the ground once, in autumn or early spring, and stay off it afterwards.
- Water deeply, then leave it a day before doing anything else.
- Top up thin mulch to a proper 5–7cm, keeping it clear of stems.
- Pull mulch back from the rows you want to sow, and riddle compost over the surface.
- Mulch your paths properly so you are never tempted to tread on the beds.
- Note down what you did and when. Next autumn, sow a green manure or add another layer of compost and let the soil carry on improving.
No-dig rewards patience more than perfection. Fix the compaction, get the depth of mulch right, and time your planting to the soil rather than the seed packet, and the second season will look nothing like the first.
Photo: Greta Hoffman / Pexels
Related posts
More stories you’ll love reading